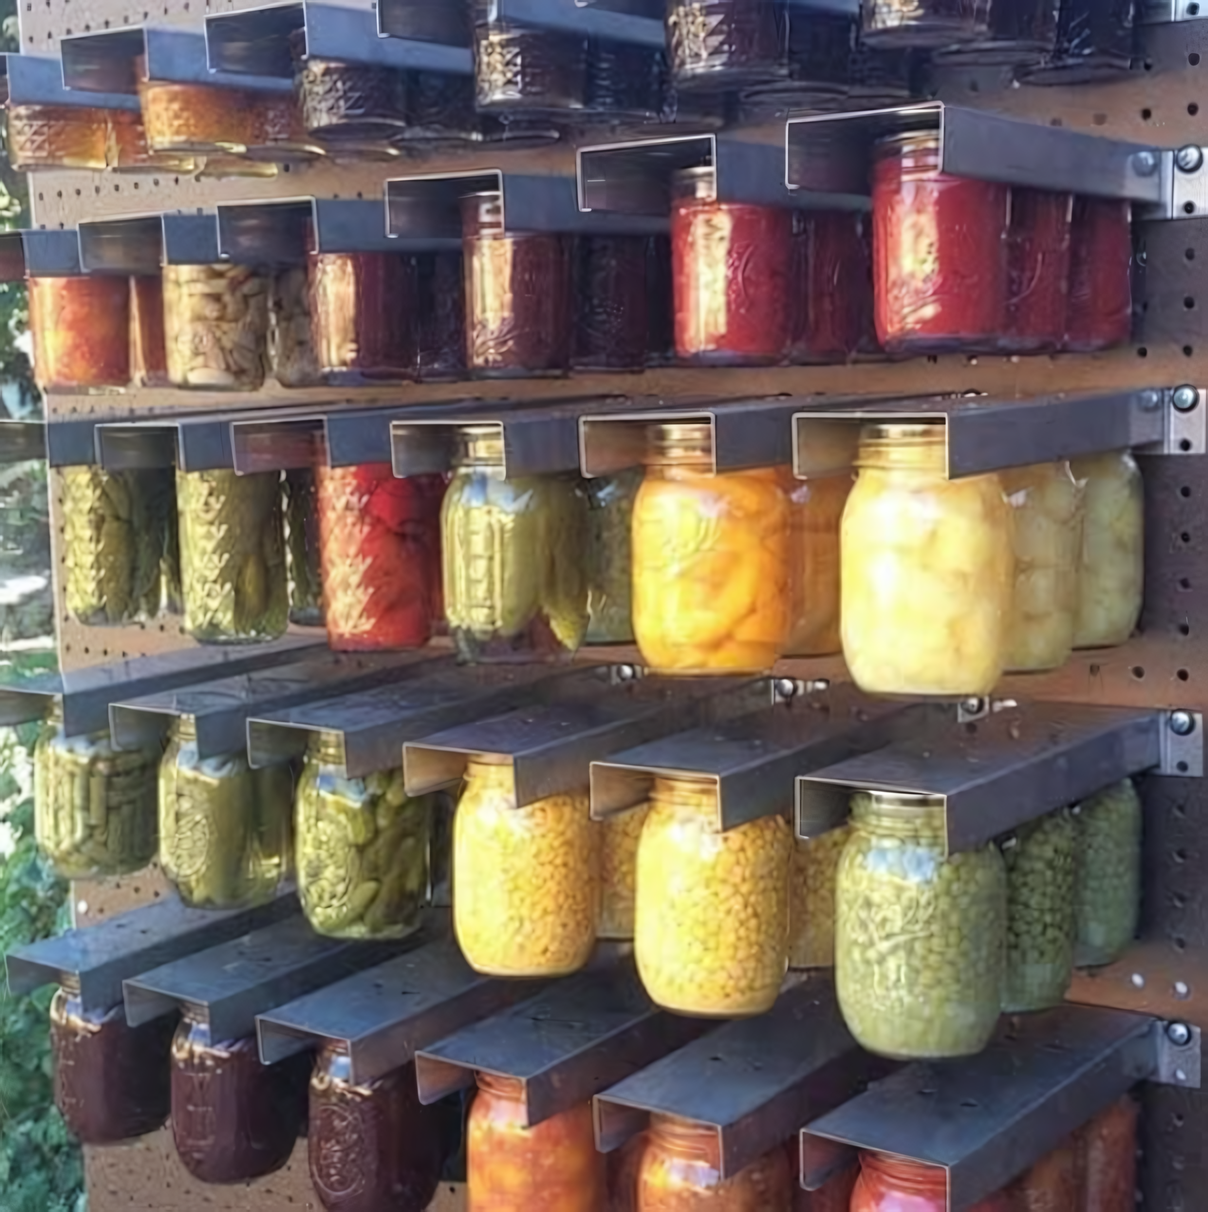
If you’re into food preservation, you know the struggle of a cluttered pantry. Stacking glass jars can be precarious and take up a lot of space. The image you’ve shared presents a brilliant solution: a vertical mason jar storage system that’s both space-saving and visually appealing.
This system is a perfect example of smart organization, using a common pegboard and custom metal hangers to display and store jars. It’s a fantastic project for anyone who loves canning and wants to make the most of their storage space.
Why This System is a Game-Changer
- Space Efficiency: By using vertical wall space, you free up valuable shelf space in your pantry or kitchen.
- Easy Access: You can see all your jars at a glance without digging through stacks. This makes finding ingredients or choosing a preserve a breeze.
- Safety: No more precarious stacks! Each jar is held securely in its own hanger, reducing the risk of breakage.
- Aesthetic Appeal: The system turns your canned goods into a beautiful display, showcasing your hard work.
How to Build Your Own Mason Jar Wall Hangers
Building this system requires some basic metalworking skills. If you’re not comfortable with metal, you could adapt the concept using a strong wood like plywood, but the metal hangers shown in the photo are durable and long-lasting.
Materials
- Pegboard: A sheet of pegboard large enough for your space.
- Metal Strips: Flat steel or aluminum strips, about 1-2 inches wide.
- Drill and Bits: To create mounting holes in the metal and pegboard.
- Screws and Washers: To mount the hangers to the pegboard.
- Metal Saw and Bender: To cut and bend the metal strips.
- Canning Jars: Your favorite canning jars to fill the hangers.
Instructions
- Mount the Pegboard: Secure the pegboard to a wall in your pantry, kitchen, or basement. Make sure it is securely mounted into studs to support the weight of the jars.
- Cut the Metal Strips:
- Measure the height and width of your jars.
- Cut your metal strips into lengths that can be bent to create the “hook” that holds the jar.
- Each hanger will be a single piece of metal. It should have a flat section that screws into the pegboard, and a bent section that holds the jar.
- Bend the Hangers:
- This is the most critical step. You need to bend the metal strips to fit the neck of the jars.
- The photo shows a “U” shape that goes under the lid. It’s important that the hanger grabs the jar at the point where the threads for the lid are located.
- Bend the metal at a 90-degree angle to create the flat mounting section.
- Then, at a specific distance from the first bend, create a second bend that will hold the jar. The distance between the two bends should be slightly larger than the diameter of the jar’s lid.
- Drill Mounting Holes: Drill holes in the flat section of each metal hanger, matching the hole pattern of your pegboard.
- Install the Hangers:
- Attach the hangers to the pegboard using screws and washers. You can position them in rows to create the tiered effect seen in the photo.
- Once a hanger is attached, you should be able to slide a jar into it, so the hanger rests securely under the lid.
This DIY storage system is a perfect blend of form and function. It solves a common storage problem and turns your passion for canning into a beautiful, organized display.