Tired of seeing your garden suffer through a dry spell? Frustrated by high water bills just to keep your lawn green? There’s a simple, eco-friendly solution that will give your garden all the water it needs, completely free of charge. This isn’t your average rain barrel—it’s a massive, DIY rainwater harvesting system that can be built for a fraction of the cost of commercial setups.
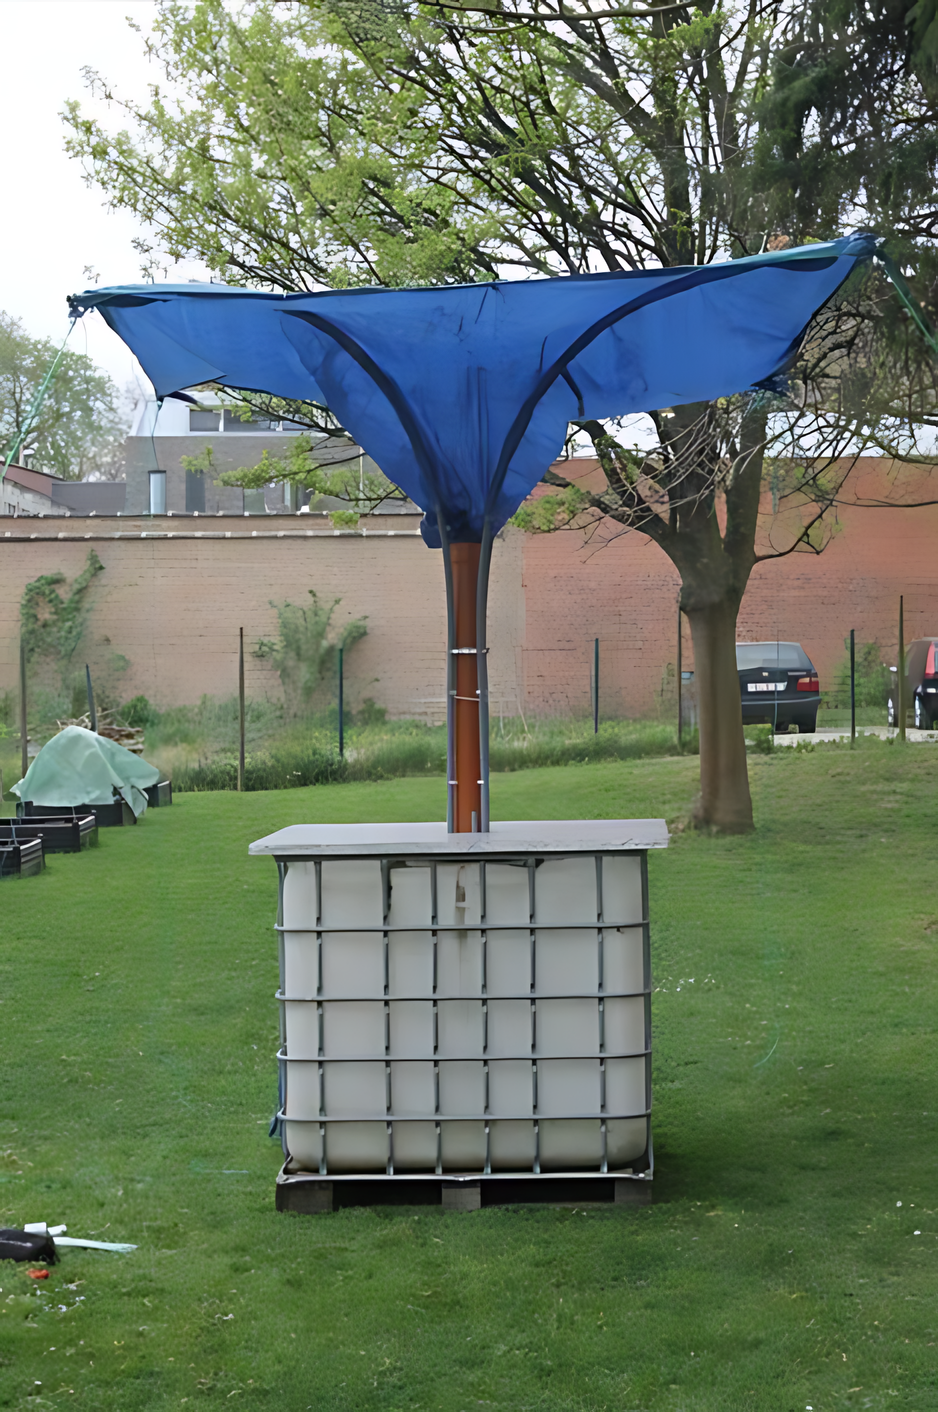
The project in the photo uses a repurposed Intermediate Bulk Container (IBC) tote, a common shipping container that holds hundreds of gallons of liquid. Paired with a simple tarp and pole, this system becomes a standalone rainwater catcher, independent of your home’s gutters. It’s a fantastic example of upcycling that provides a sustainable and reliable water source for all your gardening needs.
Why This Is the Best DIY Rain Barrel
Traditional rain barrels are great, but they often have limited capacity. An IBC tote can hold between 275 to 330 gallons of water, a staggering amount compared to a typical 50-gallon barrel. This means you can collect a huge supply of water from even a short rain shower.
The canopy system in the photo is an ingenious addition. It allows you to place your water collection system anywhere in your yard—not just next to a downspout. The large surface area of the tarp acts as a catchment, funneling a significant volume of rainwater directly into the tank below. It’s a perfect solution for large gardens or areas far from your house.
How to Build Your DIY Rainwater Catcher
Ready to get started? This project requires a bit of effort, but the payoff in saved water and money is well worth it.
What You’ll Need:
- 1 IBC Tote: These can often be found used for a low cost. Crucially, make sure the tote is food-grade or has only been used for non-toxic materials. You can ask the seller for its previous use.
- 1 Large Tarp: A durable tarp big enough to act as your catchment surface.
- 1 Sturdy Pole or Post: To support the center of the tarp.
- Spigot/Ball Valve: A simple valve and fittings to attach to the existing port on the tote for easy water access.
- Hose Clamps or Rope: To secure the tarp to the pole and the outer edges.
Step-by-Step Instructions:
- Source and Clean the Tote: Find a used IBC tote from a local farm, construction company, or online marketplace. Once you have it, give it a thorough cleaning inside and out to remove any residue.
- Install a Spigot: The IBC tote will have a drain valve at the bottom. You can attach a standard garden hose spigot or a ball valve to this port using an adapter. This makes it easy to fill a watering can or attach a garden hose.
- Build the Canopy: Stand your pole in the center of the tote’s top. Drape the tarp over the pole, creating a conical shape. Secure the tarp’s center to the pole with a clamp or rope.
- Create the Funnel: Securely tie down the outer corners of the tarp to the ground or to nearby objects. Make sure the tarp is angled so that all the rainwater will run down to the center and flow directly into the tote’s top opening.
- Start Catching Water: Once your setup is secure, you’re ready to start harvesting. The next time it rains, your tote will fill up with free, chemical-free water for your plants.
This simple yet powerful rainwater harvesting system can change how you manage your garden and your water usage. What other ways have you found to live more frugally and eco-friendly?