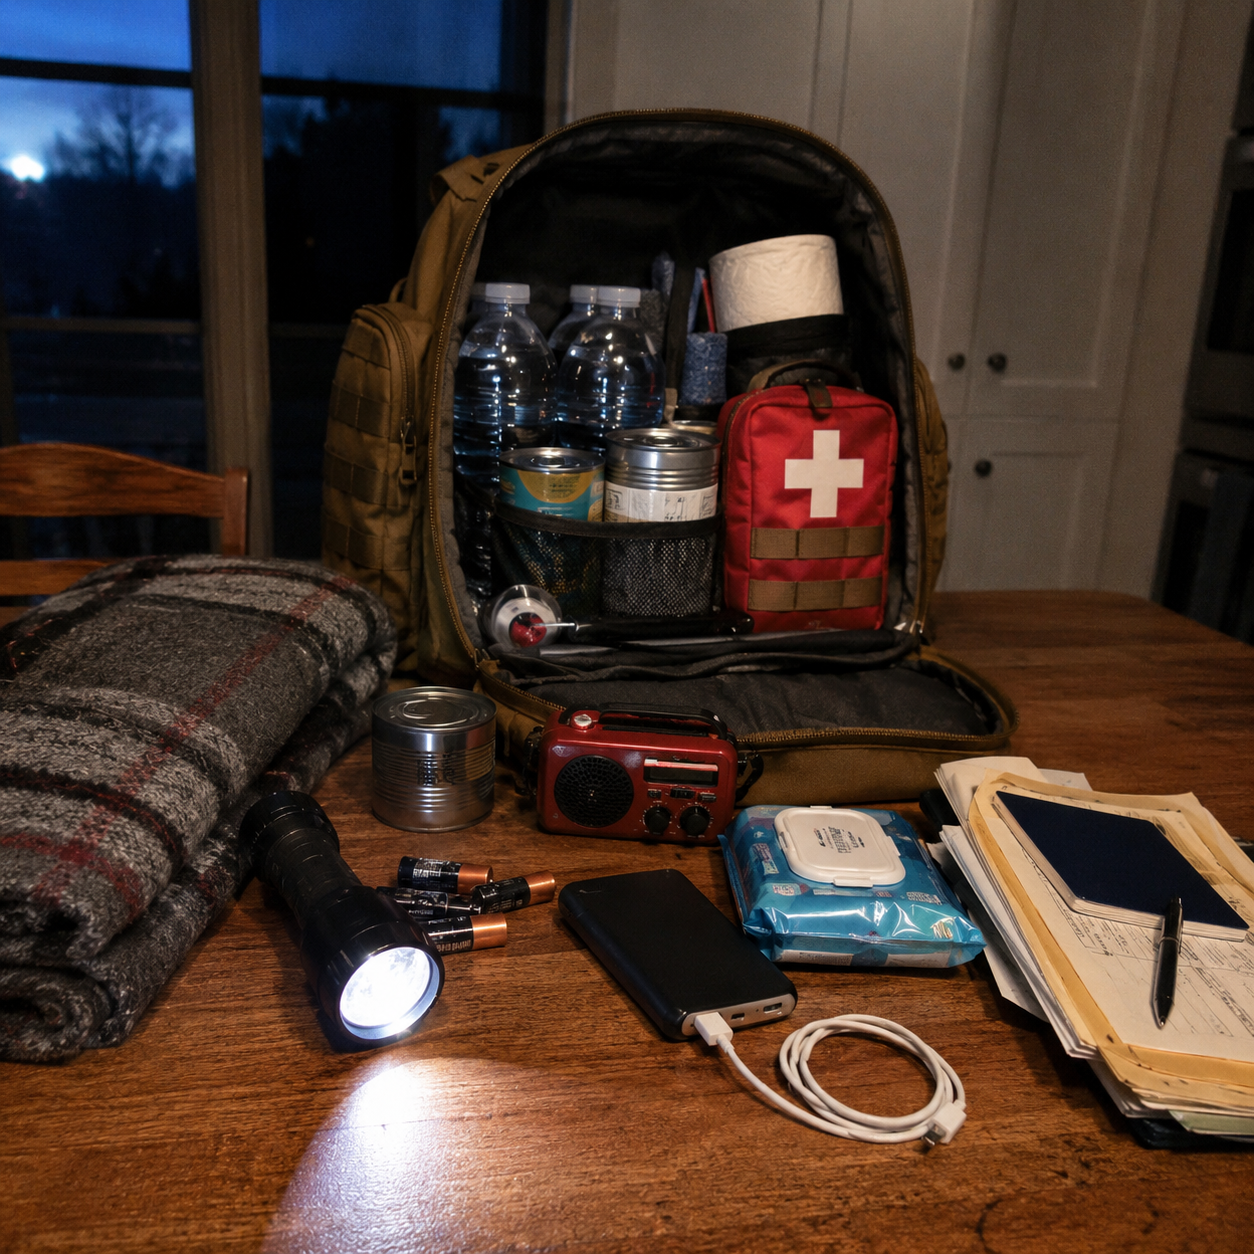
Emergencies rarely arrive at a convenient time.
A storm may knock out electricity overnight. Flooding may block nearby roads. A major water-main break may interrupt tap water. Wildfire smoke, extreme heat, civil disruption, or a regional power failure may make it safer to remain at home temporarily.
During the first few hours, most households can manage with what they already have. The real problems often begin later.
Phones lose power. Refrigerated food starts warming. Flashlights run out of batteries. Family members realize there is less drinking water than expected. Pharmacies, fuel stations, and grocery stores may be closed, overcrowded, or unable to process payments.
A 72-hour emergency kit is designed to help a household remain reasonably safe and comfortable for approximately three days without depending on normal services.
It does not need to look like a military supply room. It needs to be organized, realistic, easy to access, and built around the people who actually live in your home.
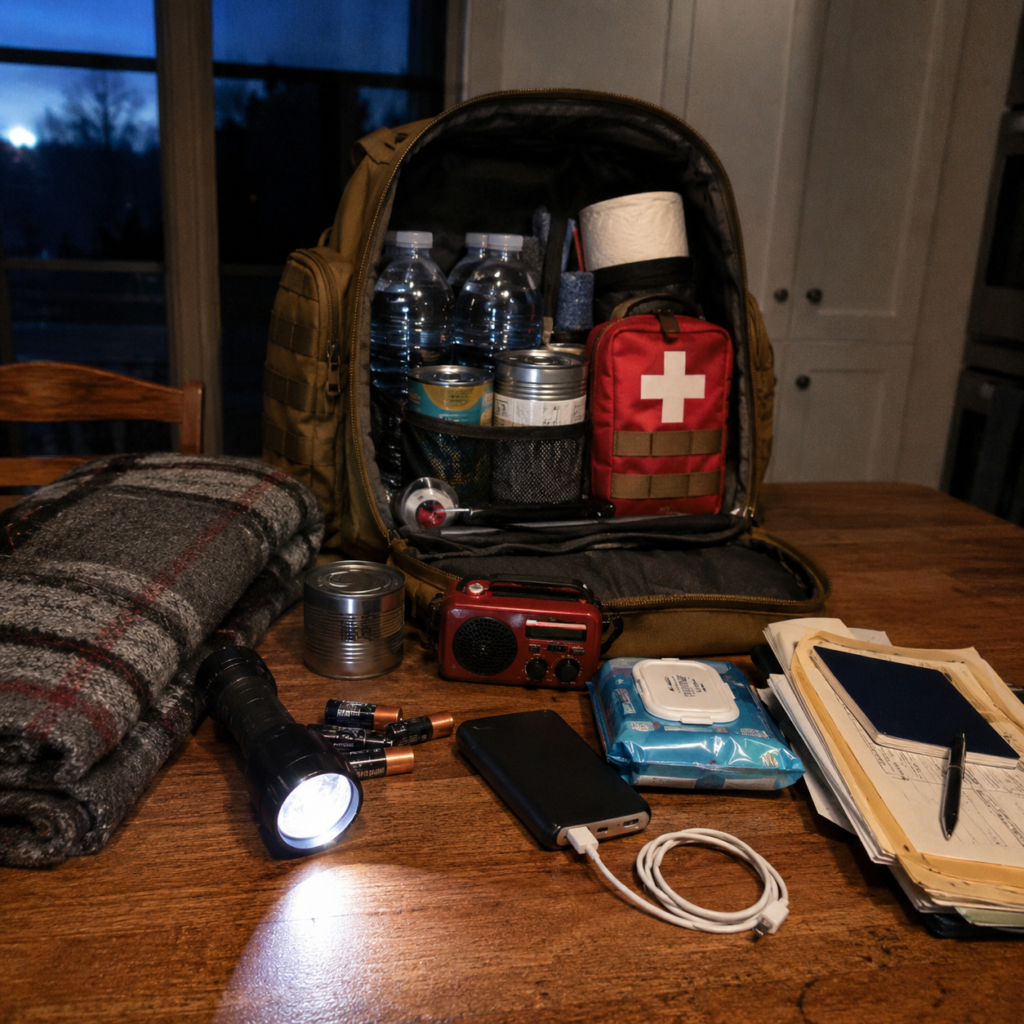
Why Start With 72 Hours?
Three days is a manageable starting point for new preppers.
It is long enough to cover many short-term disruptions, including:
- Local power outages
- Severe storms
- Temporary evacuations
- Water-service interruptions
- Road closures
- Short supply disruptions
- Heating or cooling failures
- Minor regional emergencies
A 72-hour kit is not a complete long-term preparedness plan. However, it gives your household a strong foundation. Once it is finished, you can gradually expand your water, food, medical, and backup-power supplies.
The goal is not to predict every possible disaster.
The goal is to reduce the number of urgent problems your family would face during an emergency.
Step 1: Plan for Water First
Water should be the first priority in almost every household emergency kit.
People can go much longer without food than without safe drinking water. Water is also needed for basic hygiene, medication, cooking, cleaning, and caring for pets.
A common starting target is approximately one gallon of water per person per day.
For a household of four, a three-day supply would be:
4 people × 3 days × 1 gallon = 12 gallons
That amount includes drinking and limited sanitation. Hot weather, pregnancy, illness, physical activity, and certain medical conditions may increase the amount needed.
Practical ways to store emergency water
You can use:
- Factory-sealed bottled water
- Purpose-made water-storage containers
- Stackable water bricks
- Smaller portable jugs
- A combination of large and small containers
Avoid relying only on one large container. A damaged cap, leak, or contamination problem could affect your entire supply.
Several smaller containers are easier to move and give you redundancy.
Store water in a cool, dark area away from fuel, pesticides, cleaning chemicals, and strong odors. Check containers periodically for leaks, damage, or expiration recommendations.
Add a backup treatment method
Stored water should be your main supply, but it is wise to have a secondary way to make questionable water safer.
Useful backup options include:
- A gravity-fed water filter
- A portable hiking filter
- Water-purification tablets
- Unscented household bleach when used according to current public-health guidance
- A metal pot for boiling water
A filter does not necessarily remove every virus, chemical, or salt. Purification tablets also have limitations. Understand what your chosen method can and cannot treat before an emergency.
Step 2: Choose Simple Emergency Foods
Emergency food should be familiar, shelf-stable, easy to prepare, and appropriate for your household.
You do not need expensive survival meals to prepare for three days.
Start with foods your family already eats.
Good options include:
- Canned beans
- Canned meat or fish
- Peanut butter
- Crackers
- Shelf-stable milk
- Granola or protein bars
- Dried fruit
- Nuts and seeds
- Canned soup
- Ready-to-eat rice or grain pouches
- Canned vegetables
- Applesauce or fruit cups
- Instant oatmeal
- Shelf-stable tortillas
- Comfort foods in small quantities
Choose foods that require little water and minimal cooking.
During an outage, water and fuel may be limited. Foods that require long boiling times may be less practical than ready-to-eat options.
Do not forget a manual can opener
Many emergency food plans fail because the household stores canned goods but has no manual can opener.
Keep at least one reliable opener inside the emergency kit.
Plan around dietary needs
Your food supply should account for:
- Food allergies
- Diabetes or other dietary restrictions
- Infants and toddlers
- Older adults
- Religious or cultural food requirements
- Family members with swallowing difficulties
- Pets
Store foods that people will actually eat when they are tired, stressed, or uncomfortable.
Rotate instead of wasting food
Write the purchase or expiration date on each item with a marker.
Every few months, move older food into your normal pantry and replace it with newer items. This keeps the emergency supply fresh and prevents unnecessary waste.
Step 3: Prepare for Lighting and Communication
Darkness turns a manageable outage into a stressful situation.
Every household member should have access to dependable lighting.
Useful options include:
- LED flashlights
- Headlamps
- Battery-powered lanterns
- Rechargeable lanterns
- Small motion-sensor lights
- Spare batteries
Headlamps are especially useful because they leave both hands free for cooking, checking equipment, carrying supplies, or helping another person.
Avoid depending entirely on phone flashlights. Phones are important communication devices, and using them as lights drains their batteries quickly.
Store more than one light source
Do not place every flashlight in one box.
Keep lights in several locations, such as:
- Bedrooms
- Kitchen
- Living room
- Near the main exit
- Emergency kit
- Vehicle
An outage may happen while family members are in different parts of the home.
Add an emergency radio
A battery-powered or hand-crank radio can provide information when mobile data, television, or home internet is unavailable.
Choose a model that can receive local weather and emergency broadcasts. Test it before storing it.
Keep a printed list of local emergency stations nearby so you do not have to search for frequencies during a crisis.
Step 4: Build a Small Backup-Power Plan
Electricity has become closely connected to communication, work, health, and basic household safety.
Even a modest power plan can keep critical devices operating.
Start by identifying your most important electrical needs.
These may include:
- Mobile phones
- Internet router
- Medical devices
- Rechargeable lights
- Radio
- Laptop
- Small fan
- Refrigerator
- Security equipment
Basic power options
A small power bank can recharge phones several times.
A larger USB battery can support phones, tablets, lights, and some laptops.
A portable power station may operate a router, CPAP machine, fan, television, refrigerator, or other appliance, depending on its capacity and output.
Solar panels can extend runtime, but they should not be your only charging method. Weather, shade, panel angle, and daylight hours affect solar performance.
Calculate before buying
Two specifications matter most:
Watt-hours indicate how much energy the battery stores.
Watts indicate how much power it can provide at one time.
A 1,000Wh power station might run a 100W device for roughly eight or nine hours after normal efficiency losses.
High-draw appliances such as electric heaters, kettles, hot plates, hair dryers, and air conditioners can drain batteries very quickly.
Focus emergency electricity on communication, lighting, refrigeration, ventilation, and medical needs before comfort appliances.
Step 5: Assemble a Realistic First-Aid Kit
A first-aid kit should cover common injuries and help manage minor problems until professional care is available.
Useful supplies include:
- Adhesive bandages in several sizes
- Sterile gauze pads
- Medical tape
- Elastic bandages
- Antiseptic wipes
- Disposable gloves
- Tweezers
- Trauma shears
- Digital thermometer
- Cold packs
- Burn dressings or burn gel
- Saline wound wash
- Pain relievers
- Antihistamines
- Anti-diarrheal medication
- Oral rehydration packets
- Personal medications
Store medicine according to its label instructions and check expiration dates regularly.
Include personal medical information
Prepare a simple medical information sheet for each household member.
Include:
- Full name
- Date of birth
- Allergies
- Medical conditions
- Current medications
- Medication dosages
- Doctor’s contact information
- Emergency contacts
- Insurance information
Keep a printed copy in a waterproof pouch.
Learn basic first aid
Supplies are more useful when someone knows how to use them.
Consider taking a basic first-aid and CPR course. Training can help you respond more calmly and avoid making an injury worse.
Step 6: Plan for Sanitation
Loss of running water can create serious hygiene problems within a day.
Your emergency kit should include supplies for keeping hands, surfaces, and waste reasonably controlled.
Useful sanitation items include:
- Toilet paper
- Paper towels
- Hand sanitizer
- Soap
- Disinfecting wipes
- Heavy-duty trash bags
- Zip-top bags
- Disposable gloves
- Feminine hygiene products
- Diapers
- Baby wipes
- Dental-care supplies
- Cat litter or absorbent material
- Plastic bucket with a tight lid
A sturdy bucket, heavy trash bags, and absorbent material can serve as a temporary toilet if plumbing is unavailable. It should be used only with careful waste handling and according to local emergency guidance.
Do not use drinking water for cleaning unless necessary. Store a separate supply of utility water when space allows.
Step 7: Protect Important Documents
An emergency can force you to leave home with little notice.
Important documents should be organized before that happens.
Keep copies of:
- Identification
- Passports
- Birth certificates
- Insurance policies
- Property records
- Vehicle registration
- Medical information
- Prescription lists
- Emergency contacts
- Bank and credit-card contact numbers
- Pet records
- Recent household inventory photos
Store paper copies inside a waterproof and fire-resistant pouch.
Encrypted digital copies can also be kept on a secure flash drive or trusted cloud account. Avoid storing unprotected sensitive documents where they can be easily accessed.
Step 8: Keep Emergency Cash
Electronic payment systems may stop working during a power or internet outage.
Fuel stations, pharmacies, and small stores may accept cash when card terminals are unavailable.
Keep a modest amount of emergency cash in small bills.
Large bills may be difficult for businesses to change during a disruption. Do not publicly discuss where cash is stored, and keep it secured from theft or accidental loss.
Step 9: Pack Basic Tools and Repair Supplies
Small problems often become larger during emergencies because ordinary repair services are unavailable.
A basic household kit might include:
- Adjustable wrench
- Pliers
- Screwdrivers
- Utility knife
- Duct tape
- Work gloves
- Safety glasses
- Zip ties
- Paracord or strong cord
- Plastic sheeting
- Tarp
- Hammer
- Nails and screws
- Multi-tool
- Fire extinguisher
- Dust masks
- Whistle
These items can help cover a broken window, shut off a utility, secure loose materials, make temporary repairs, or signal for help.
Learn the location of your home’s electrical panel, water shutoff, and gas shutoff. Do not turn utilities back on unless it is safe and permitted.
Step 10: Prepare for Temperature Extremes
Heating and cooling problems can become more dangerous than lack of food.
For cold-weather emergencies
Store:
- Warm blankets
- Sleeping bags
- Thermal clothing
- Hats and gloves
- Hand warmers
- Wool socks
- Window-insulation material
Close unused rooms and concentrate household members in one area to conserve warmth.
Never use a charcoal grill, camping stove, vehicle engine, or outdoor heater inside a home, garage, tent, or enclosed area. Fuel-burning equipment can produce deadly carbon monoxide.
For hot-weather emergencies
Store:
- Battery-powered fans
- Cooling towels
- Oral rehydration supplies
- Lightweight clothing
- Window shades
- Extra drinking water
Limit physical activity during the hottest part of the day. Use the coolest available room and watch children, older adults, and people with medical conditions closely.
Step 11: Include Supplies for Children and Pets
Preparedness plans should reflect every member of the household.
For children
Consider including:
- Familiar snacks
- Formula or baby food
- Diapers
- Comfort item
- Small games
- Coloring supplies
- Headphones
- Child-safe flashlight
- Extra clothing
A familiar toy or blanket may seem unimportant, but it can reduce fear and stress during an emergency.
For pets
Store:
- Food
- Water
- Bowls
- Medication
- Leash and harness
- Carrier
- Waste bags
- Litter
- Vaccination records
- Recent photo
- Identification information
Keep pets included in evacuation planning. Some shelters and hotels may have restrictions, so identify alternatives in advance.
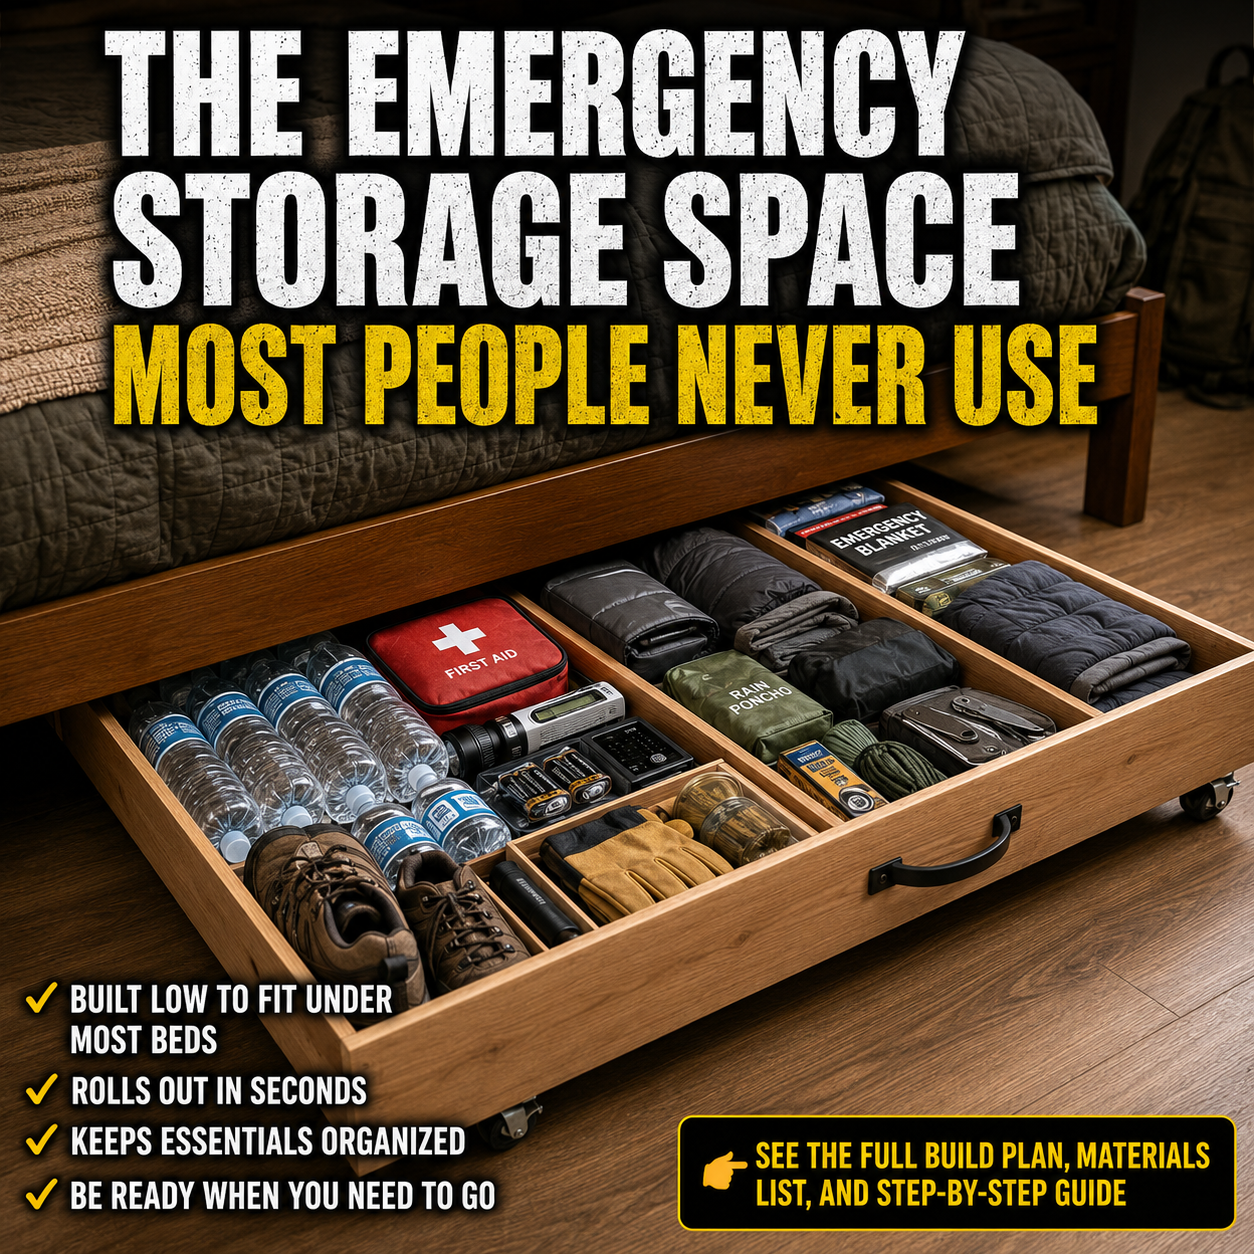
Step 12: Organize the Kit for Fast Access
An emergency kit is less useful if no one can find what they need.
Use clearly labeled containers divided by category.
For example:
- Water and purification
- Food and cooking
- Lighting and power
- First aid and medicine
- Sanitation
- Documents
- Tools
- Pet supplies
Store heavier containers at a safe lifting height when possible.
Do not place the entire kit in a basement that may flood, a hot attic, or a locked area that only one person can access.
Every responsible household member should know where the kit is stored.
A Simple 72-Hour Emergency Kit Checklist
Water
- Three-day drinking-water supply
- Water-storage containers
- Filter or purification method
- Metal boiling pot
Food
- Three days of shelf-stable food
- Manual can opener
- Eating utensils
- Paper plates or bowls
- Special dietary foods
- Pet food
Lighting and power
- Flashlights
- Headlamps
- Lanterns
- Spare batteries
- Power banks
- Charging cables
- Emergency radio
- Portable power station, when needed
Medical supplies
- First-aid kit
- Prescription medication
- Personal medical information
- Gloves
- Thermometer
- Pain and allergy medication
Sanitation
- Toilet paper
- Soap
- Hand sanitizer
- Trash bags
- Wipes
- Hygiene products
- Temporary toilet supplies
Documents and money
- Identification copies
- Insurance information
- Contact list
- Medical records
- Emergency cash
- Waterproof document pouch
Tools and safety
- Multi-tool
- Wrench
- Pliers
- Duct tape
- Work gloves
- Plastic sheeting
- Whistle
- Fire extinguisher
- Dust masks
Comfort and clothing
- Change of clothing
- Durable shoes
- Blankets
- Rain gear
- Seasonal supplies
- Children’s comfort items
Common Emergency-Kit Mistakes
Buying supplies without testing them
Test flashlights, radios, chargers, filters, stoves, and power stations before storing them.
An emergency is not the right time to discover that a cable is missing or a device is too complicated to operate.
Storing unfamiliar food
Emergency food is not useful when family members dislike it or cannot digest it.
Store familiar foods and rotate them into normal meals.
Forgetting water
Many people focus heavily on food, tools, and gadgets while storing too little water.
Water should be one of the largest and most carefully planned parts of the kit.
Keeping everything in one container
A single giant tote may be too heavy to move.
Dividing supplies into several labeled containers makes them easier to carry and protects against total loss if one container is damaged.
Ignoring maintenance
Batteries discharge. Food expires. Children grow. Medications change. Contact information becomes outdated.
A kit should be reviewed at least twice per year.
How to Maintain Your Emergency Kit
Choose two memorable dates each year, such as the beginning and end of storm season.
During each review:
- Replace expired food and medicine
- Recharge battery banks and power stations
- Test flashlights and radios
- Inspect water containers
- Update documents
- Replace outgrown clothing
- Check pet supplies
- Confirm emergency contacts
- Review evacuation routes
Write the next inspection date on the outside of each container.
Final Thoughts
A good 72-hour emergency kit does not need to be expensive or complicated.
Begin with water, food, lighting, basic medical supplies, communication, and sanitation. Then add household-specific items such as medications, pet supplies, backup power, and seasonal clothing.
Build the kit gradually if necessary. Purchasing a few useful items each week is better than postponing preparedness because you cannot complete everything at once.
The most effective emergency kit is not the largest one.
It is the one your family understands, maintains, and can reach when normal services suddenly stop.